本次配置环境主要涉及三个文件,它们分别是launch.josn、task.json和c_cpp_properties.json。其中,launch.json主要用于debugger设置,task_json主要用于编译build设置,而c_cpp_properties.json主要涉及编译路径设置和IntelliSense设置。
第一步:安装插件和检查设置
安装如下插件:
- C/C++
- C++Intellisense
- CodeLLDB(Mac M1必须)
查看你的Mac中Clang是否安装,使用如下的命令:
1 | clang --version |
如果Clang没有安装,那么使用如下的命令进行安装:
1 | xcode-select --install |
第二步:配置launch.json和task.json
首先,我们先新建一个hello.cpp文件作为测试文件。文件内容如下:
1 |
|
然后我们按下Fn+F5运行该文件。如果你之前没有配置过,那么vscode会让你进行配置。选择C++ (GDB/LLDB)进行配置。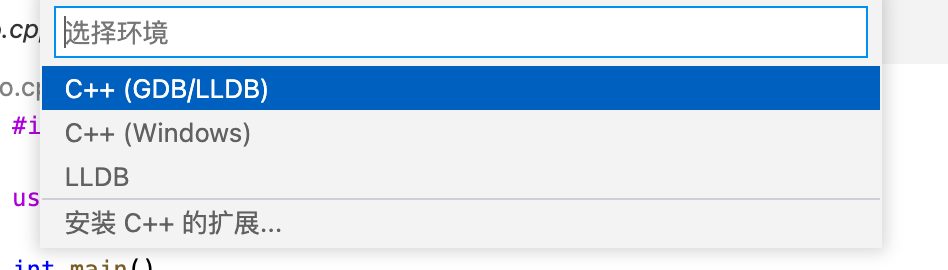
接下来,选择clang++。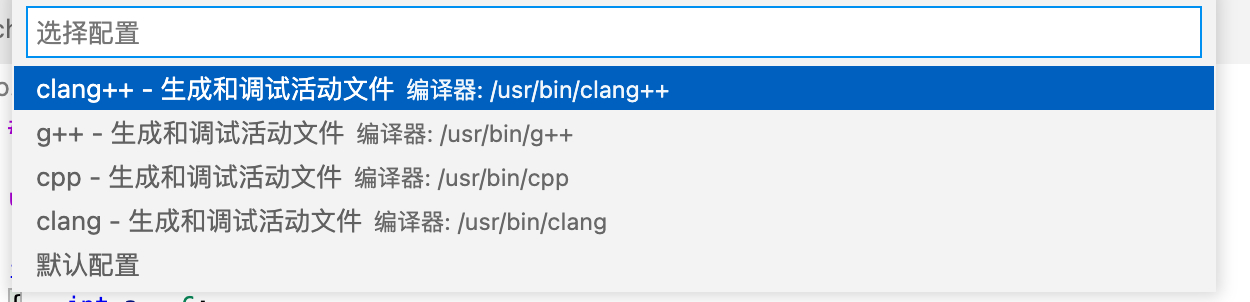
然后,在.vscode文件中会自动生成launch.json和task.json。
但是这时可以发现虽然生成编译后的文件,但是无法自动在终端中运行。同时在调试控制台出现如下的错误的信息。
1 | ERROR: Unable to start debugging. Unexpected LLDB output from command "-exec-run". process exited with status -1 (attach failed ((os/kern) invalid argument)) |
另外,在目录中出现了dSYM为结尾的文件夹。该文件夹包含了编译调试信息,显得很烦,我并不希望它生成。
面对如上的情况,所以我们需要对配置文件进行一些修改。
修改:task.json
注释-g命令,不再生成编译调试信息。
添加-std=c++11,以便以c++11的标准进行编译。
1 | { |
修改:launch.json
将type属性修改为lldb。
将stopAtEntry属性修改为true。
1 | { |
修改完毕再次运行,可以看到在终端成功运行。
第三步(选做):配置c_cpp_properties.json
在默认的设置中,编译版本使用的是c++98。但是当我们想使用类似auto等c++11高版本特性时,在vscode中会出现红色波浪线。所以我们需要进行一些修改。
在vscode配置终端中(⇧⌘P),使用运行命令C/C++: 编辑配置(JSON), 会自动生成c_cpp_properties.json。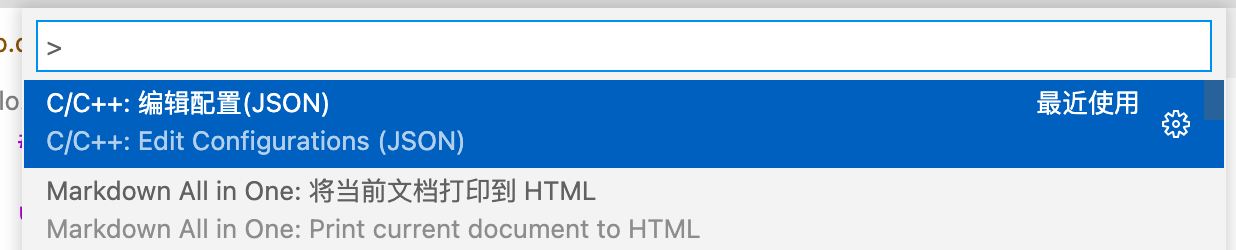
修改:c_cpp_properties.json
修改cppStandard属性为c++11。
1 | { |
修改完成后,就不会出现红色波浪了。
至此,所有配置完成。
参考
- https://code.visualstudio.com/docs/cpp/config-clang-mac
- https://stackoverflow.com/questions/584825/dsym-directories-while-compiling-c-code-in-macos
- https://stackoverflow.com/questions/67270447/vscode-lldb-on-macos-error-when-starting-debugging-session
- https://www.reddit.com/r/AskProgramming/comments/og5g8c/how_do_i_turn_off_dsym_files_when_running_c_files/